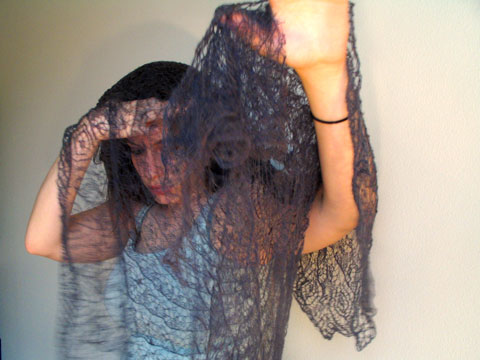
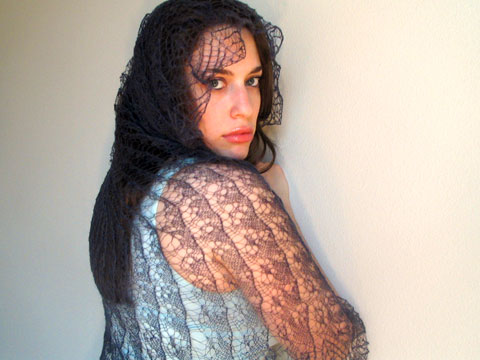
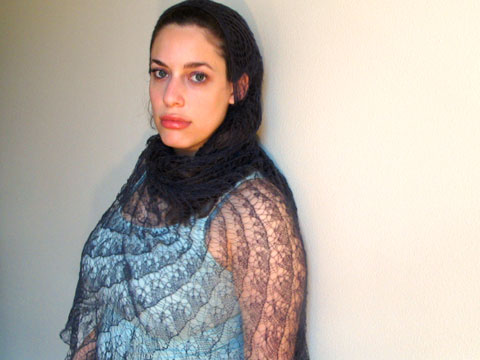
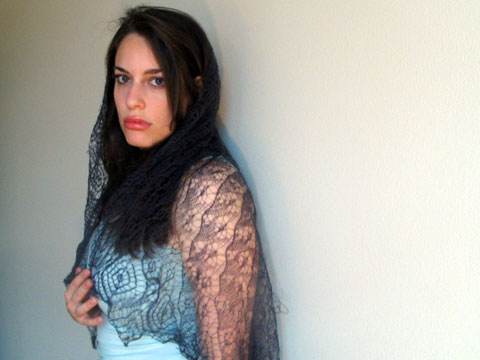
Ladies and gentlemen, I have TWO HORRIBLE STORIES regarding this Queen Anne’s Lace shawl. The first one began sometime last winter when I began knitting it. In April, I moved into a new apartment and in transit, it came off the needles. It could not be salvaged or negotiated, and it had to be tossed. I didn’t knit anything until August, which is the Queen Anne’s Shawl seen above.
I knit this quite diligently throughout the month and bound off over Labor Day Weekend. Binding off took over two hours, such is the size of this shawl. UPON BLOCKING I noticed one particular area was really quite elastic and looked funny. I’ll spare the drama - an entire pattern repeat was UNRAVELLING. And we’re talking lace here. That is dramatic enough. When lace unravels you can’t just crochet up the ladder. Decreases and double-decreases get undone and thus a pattern repeat gets destroyed. It expands and turns into a tangly, loose mess that is not lace and not knitting. It’s kind of like writing a full paper, proofreading it, and then irreversibly sorting all the words in alphabetical order. I kept picking through it and it just kept unravelling and the damage kept multiplying as decreases kept separating. IT WAS SO SAD.
Here is where I admit why I am coping. First of all, I’m used to experiencing beautiful things in my life get destroyed, especially after I put a lot of effort into them. Second, There’s a woman on SE 33rd and Hawthorne in Portland that holds monthly garage sales where she destashes yarn. The first time I went last October, just after moving to Portland, I got some decent deals, including red tweed, roving, and a cone of Jagger Zephyrspun Wool/silk for $11. It already sounds like a great deal, as people are selling used cones of Zephyrspun on Ravelry for prices in the $40 range. But this is not just a cone. It looks to me the size of two or three cones, comparing it to the sizes of those on Ravelry. This thing is a monolith of laceweight yarn. I knit one and a half Queen Anne’s Lace shawls on it and it didn’t make a dent at all in this cone. So let’s just say I have plenty of this yarn and I could probably knit 20 Queen Anne’s Lace shawls, all of MMario’s designs, and some Kiris too. And because the color is gray, I can overdye it in green, blue, indigo, black, or even violet.

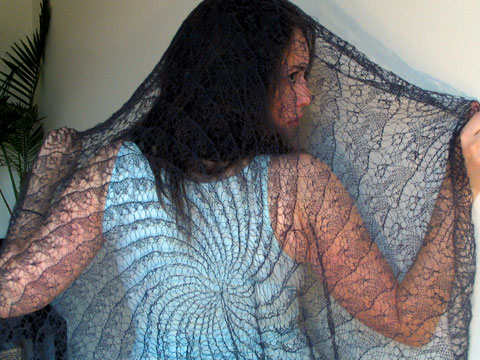
I LOVE knitting the Queen Anne’s Lace shawl. It’s an easy pattern that’s not boring, and the shawl, when finished, is so gorgeous. It drapes BEAUTIFULLY and looks so impressive and classic. I’ve knit one before (bringing my total up to two and a half) and I’ll probably knit one more. I’ll knit one every year So I’m not worried, I guess. I mean what happened is sad, but I can just knit it again. Whatever.
Unrelated to this project but related to crafting in Portland, last month was Sock Summit and I went and helped out in the Berroco booth and had a great time. It was the best weekend. I hadn’t seen Cirilia since 2006 and it was great to catch up. My name was entered in a raffle when I purchased access to the market place and I ended up winning a $25 gift certificate to Sassafras Creations; they make jewelry out of cross sections of old straight needles. I got these gorgeous earrings that are beautiful and jangly!
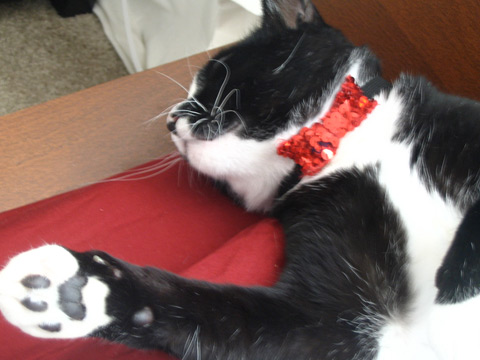
THEN I went to the Ravelry Party (the gift bags had a skein of complimentary Berroco Vintage!!) and won the Namaste Hermosa bag, a luxury knitting bag! It could fit my cat and my knitting. It also matches my cat. It even has a smaller bag INSIDE of it to hold notions, needles, or extra skeins of yarn. When my mom visited Portland last week, she fell in love with it so I gifted it to her. She never treats herself to nice new things. She was so thrilled and I felt like I did a mitzvah. At Sock Summit, had the best time and got some great deals on yarn: discontinued colors of Kidsilk haze for a great price and a great color (a gorgeous opalescent pearly purple), some Malabrigo to rub my face on, my first Koigu to round out the stash, and Berroco Sox Metallic and Ultra Alpaca Fine which I already have huge plans for.
IN OTHER NEWS I must talk about a Portland craft store that deserves your attention and patronage - Knittn’ Kitten on NE 74th and Glisan. This is a locally owned and operated craft THRIFT store. Craft supplies for THRIFT STORE PRICES PEOPLE. They have a great library of vintage patterns, fabric priced so cheap you could faint (they have a large collection of knits which is perfect for me because I’ve been endeavoring in recreating my favorite t-shirts that have seen better days), beads, yarn, sewing notions, rickrack, embroidery supplies, and KNITTING NEEDLES THAT ARE SO CHEAP OH MY GOD. It’s a great place to go to stock up on notions and essentials, or if you want to learn to say, knit, crochet, embroider, bead or do cross stitch, I’d recommend Knittin Kitten because you can buy all your supplies without worrying about spending too much money on a hobby you might not even take to. I got some amazing fabric, notions, polyester fiberfill for a stuffed animal that needs a little perking up, all for around $10. I’m going to go back there and liquidate their stock of knitting needles and crochet hooks (needles are priced between$1 and $3 and they have straights, circs, dpns, bamboo, metal, and plastic needles). If you’re local, please check this place out and give them your patronage. I overheard that they almost closed down in August. I’m going to make a shirt that cost $1.80 because that’s how much the fabric cost me and you’re all going to be so jealous.
