Tote Bag

Upcycled pajama pants tote bag

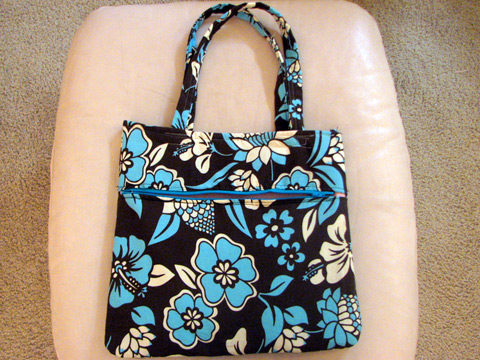
Hello how is everybody? I have a lot on my mind, that’s just like me. I made a handbag out of pajama pants and a bed sheet! It has a zippered pocket in the front and two storage areas inside the bag so I can separate my laptop from my lip gloss. I made it without a pattern. It looks decent but the details are all off. If there were a version of failblog for the detail-oriented, this would be on it.

The outer fabric was from a pair of pajama pants from Old Navy that I got in 2007 that were always too big in the waist and had too little coverage in the butt. Before I cut the pieces for the handbag I made sure to trace the individual pants pieces onto scrap fabric and now I have a pattern for pajama pants! I never have to buy pajama pants again!! The interior fabric is a pink top sheet. I never use top sheets so I have a lot of fabric to play with.

This project sat out in my living room incomplete for several months during which I abandonned a sweater in progress, started an herb garden, bought a second computer, lost eight pounds, learned to cook, and applied to graduate school. When I started this I meticulously ripped all the seams and then spent extra time matching up the print so that it would be continuous, and then I immediately forgot about how much time I spent doing that and sewed the thing all carelessly last night. If you look at the top piece above the zipper, and if you were to rotate it 180 degrees it would match up perfectly with the bottom piece. Yes, I sewed it upside down.

Another issue is that the zipper is too short for the bag so there are little open areas at the corners of the bag by the zipper. I was just happy at how serendipitous it was that the zipper was a perfect shade of turquoise because I bought the zipper years ago with no intentions that I didn’t care that it was too short. Functionally, it’s not a detriment to the bag and furthermore, if you were to scrutinize commercially made items you would find the same shortcomings.

The bag is 15” wide at the bottom x 13” tall (since the shape is roughly trapezoidal, the width is 14” at the top). I also used some mid to heavy weight interfacing in between each layer of flimsy pajama fabric and interior sheet fabric. I wish I could provide more instruction but my biggest secret is that I really don’t know how to sew. I just put fabric through a machine and articles come out. I’m detail oriented, but not a perfectionist. If I were a perfectionist, I would have made a pattern first of all. All I’m going to say is that making something like this is easy, just pin some fabric together like I did, throw it through a sewing machine, and you will get a bag.
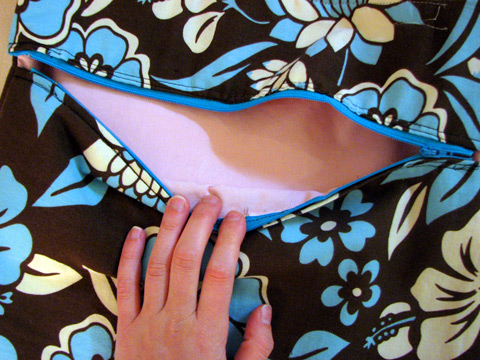
Upcycled pajama pants tote bag
Beyond the zippered pocket, the lining is pink!
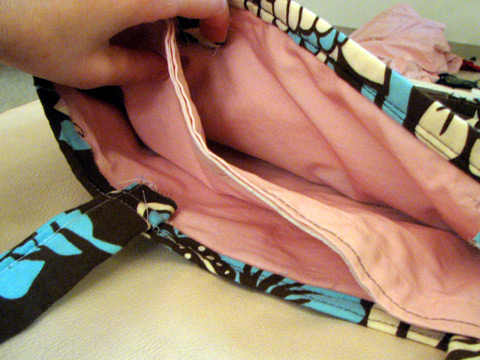
Upcycled pajama pants tote bag
A divider sewn into the bag separates two storage areas.
Tagged with fabric

Print O' The Wave Stole

Print O' The Wave Stole

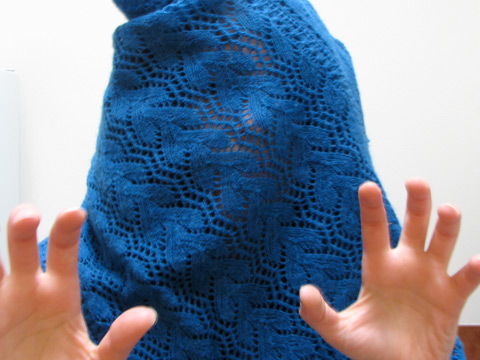
THIS is the Print O the Wave Stole by Eunny Jang. I’ve been meaning to knit this in Malabrigo Lace since 2006. In fact, I did knit it in the late spring of 2007, (in the Marine colorway of Malabrigo Lace) but after I grafted the two center panels together, it was too tight and it ripped. When I attempted to salvage it six months later, it was too late and I recovered as much of the Malabrigo as possible, paired it with some Knitpicks Shadow, and made a scarf. I still wear the scarf!

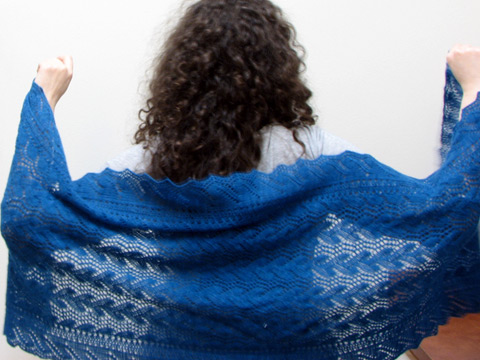
I actually finished this over the holidays, but was set on photographing it by natural light but Portland got only 25 minutes of sunlight all month and unfortunately I missed all of it. These photographs failed to capture the gossamer-like drape (how could you possibly? I took over 300 BLURRY photos) and the slight tonal variegation of the yarn, not to mention it’s actual color, cerulean. It hurts.

Print O' The Wave StoleCerulean.

Print O' The Wave Stole
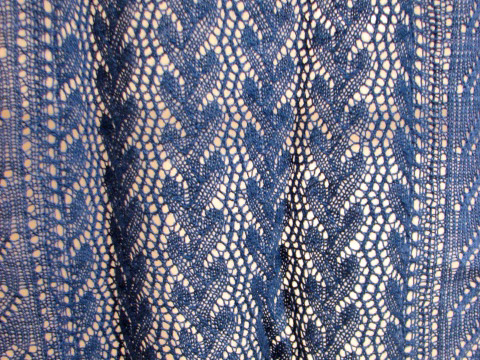
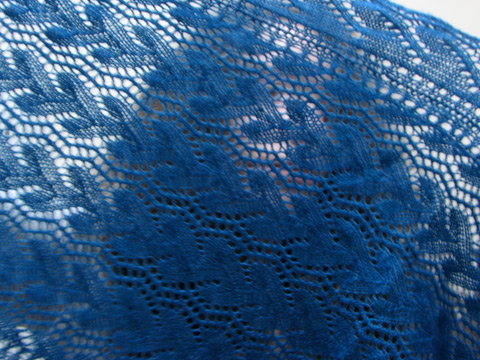
Not at all the color of the yarn, but this photo shows stitch definition.

This is a beautiful, but difficult pattern. I had a lot of trouble with the first repeat when I knit it back in 2007. It wasn’t so bad this time around, but I would recommend counting stitches every row at least until the pattern emerges in the work and becomes intuitive. I opted not to knit the center panel in two pieces and graft them, in part because of what happened to me the first time, but because upon browsing other completed stoles, I didn’t like that the pattern didn’t match up perfectly in the center, and that there’s like this SPINE (well, it’s a seam) where the two panels meet. I just don’t care for a seam running down the center of my work; I’d find it more distracting than the fact that the waves only run one way. There is always the option of knitting the center panel in one piece and simply reversing the direction of the chart halfway though to create a symmetrical look AND eliminate the seam, but that didn’t occur to me at the time. WHAT’S DONE IS DONE PEOPLE.

I made picking up 640 stitches for the inner border easier on myself because when I knit the center panel I slipped the first stitch of each row, like when you’re knitting a scarf and you want the edges to be neat, or when you intend on seaming an edge. The only thing to beware of at that point were the two rows per pattern repeat - 68 stitches in total, that began (or ended, which mattered when picking up one of the sides of the stole) with decreases, and could not be slipped. I did place markers every 20 stitches to keep track, though, so that when knitting any of the following four border rounds, I was able to increase to reach the proper number of stitches. I only missed four out of 640 stitches!!

The edging was extremely difficult to begin. I’ve never done edging before! I had several false starts; then I got a few repeats done and realize I was knitting it backwards - the inner part was on the outside and the outer part was facing the center panel. THEN I knit it backwards AGAIN - this time, the purl side of the edging matched up to the knit side of the center panel (which the instructions actually warn about, but it’s the last sentence so I missed it). The solution was to knit it BACKWARDS, this time meaning that instead of knitting around the shawl counter-clockwise, I needed to pick up the stitch BEFORE the stitch I was picking up, and knit around the shawl clockwise. So that is three distinct ways of doing things backwards! I do wish some more detail regarding that step was documented in the pattern, but I didn’t find much online about people having trouble with that step so I guess it’s only me. Once that became apparent the edging was extremely easy and I had the lace pattern memorized half way.

Print O' The Wave Stole
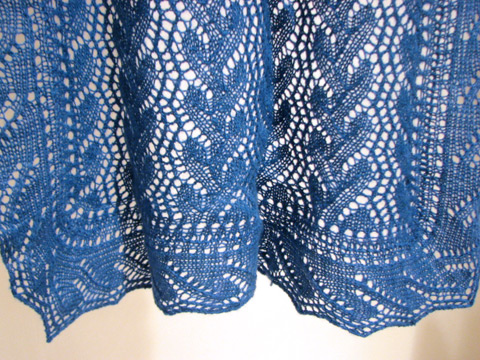
Edging!

In the end, a beautiful blue stole with a gorgeous drape! I feel like I’ve leveled-up in knitting having completed this project which eluded me for so long.

Print O' The Wave Stole

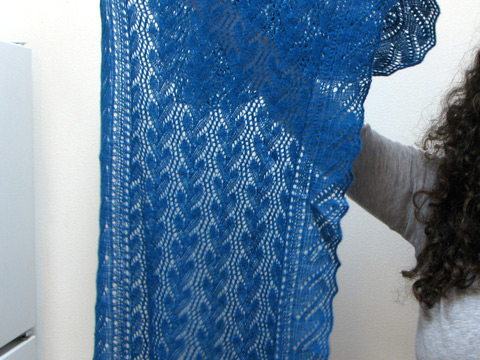
Attempting to show the drape but it would take a very fast shutter speed and more light to achieve that. So blurry!

Print O' The Wave Stole
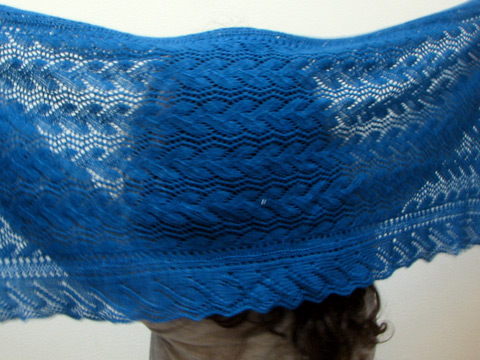
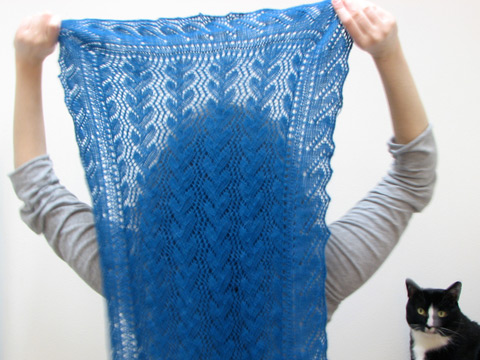
It’s a very sheer stole.

Print O' The Wave Stole

This is actually a picture of a cat. So is this:
Print O' The Wave Stole

Tagged with yarn

Slouchy Odessa Beret

Odessa Beret

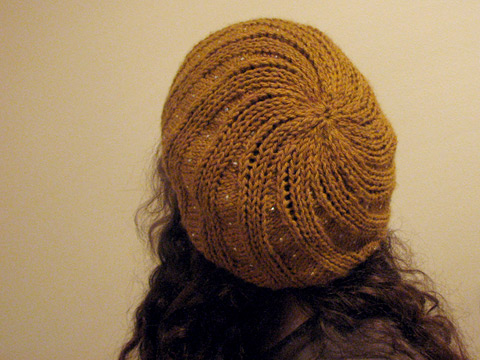
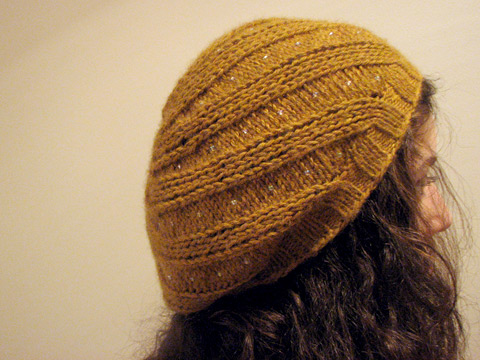
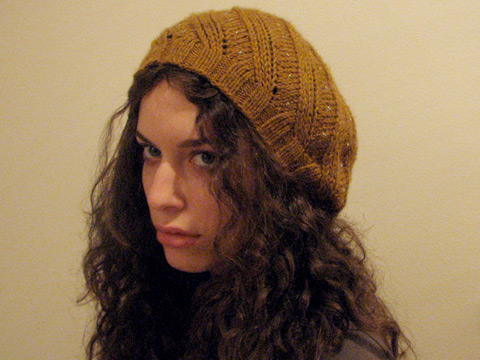
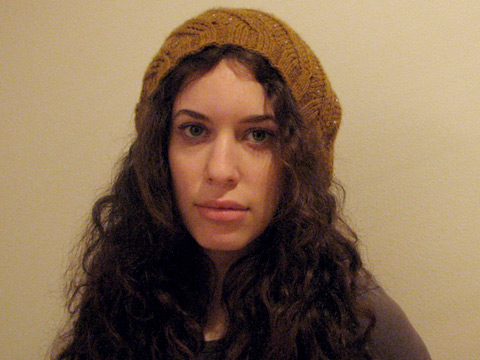
Hello! this hat is the Odessa hat, but knit as a slouchy beret. I don’t think I’ve ever seen it knit as a slouchy hat, but I’ve also never looked. This is the hat I recognize the most in Portland, albeit without the beads, which I can’t understand. The beads are the best part! The author of the pattern says that this hat would work beadlessly on men but I don’t think so. The swirl is pretty feminine.

The yarn is Berroco Vintage in Chana Dal; I received this skein gratis in my gift bag at the Sock Summit Ravelry party and strung these like clear but opalescent beads onto it knowing I wanted this to be a slouchy, beaded beret of some sort. The color is a risk for me, which provided a lot of freedom. It was then that it occurred to me to knit the Odessa as a slouchy hat by knitting the pattern on size 10 needles, instead of size 6 as given (I did, however, knit the ribbing on 4s, per the pattern). An alternative was to increase the width of each pattern repeat and knit it on reasonable 8s, but this was easy enough. My other modification was that I knit the very first yarn overs through the back loops, because they have a tendency to look loose compared to the latter yarn overs. I think that Odessa as a pattern lends itself beautifully to a beret shape, and I’m pretty sure Berroco Vintage is my yarn soulmate. For one, it’s very reasonably priced, and a lot of my aversion to sweater knitting is that it takes a lot of cost upfront, and I usually don’t have that kind of money to spend on a sweater. Secondly, the wool content in Vintage is relatively low - only 40%, which means I’m not going to die of heatstroke in a sweater knit out of this, which is also important to me.

Odessa Beret
Odessa Beret
Odessa Beret

Tagged with yarn